How to Do Water Changes in a Shrimp Tank: How Often and How Much?
If you keep fish, a water change is a weekly routine: fill the bucket, drain the old water, pour in the new, done. Dump a bucket into a shrimp tank just as casually, though, and the next morning you may find shrimp on the bottom that never made it out of their old shells. The problem is not the water change itself; it is how different the new water is from the tank water, and how fast it goes in. In this guide we walk you step by step through changing water without stressing your shrimp.
Why are shrimp so sensitive to water changes?
Shrimp have a hard exoskeleton and shed it regularly in order to grow. The hours just before and after a molt are when a shrimp is at its most vulnerable. Scientific studies on crustaceans show that during molting the body swells by taking in water, and the salt balance in the blood shifts noticeably. These studies were done on marine and brackish species, but they line up with what hobbyists have observed for years: when the water's hardness, TDS or temperature changes suddenly, molting gets harder.
The best-known sign of this is what keepers call the "white ring (of death)". Instead of opening at its usual spot behind the head, the shell cracks in a ring around the body and the shrimp ends up trapped inside the old shell. It is not certain that the white ring has a single cause; very soft water and a protein-heavy diet are among the suspects too. But sudden water changes are the first thing experienced breeders suspect. For more, see our molting guide.
How often, and how much?
Sources do not fully agree on this, and it is worth knowing that. Most shrimp breeders and care sites recommend around 10–20% a week. Some German hobby sources, on the other hand, do much larger weekly changes in heavily stocked breeding tanks. What they all have in common: the danger is not in the amount of water but in how different the new water is from the old. With perfectly matched water you can make a large change; with unmatched water, even a small one can cause trouble.
If you are just starting out, or you do not yet know your tank's values well, here is a safe starting point:
| Tank | Suggested starting point | Note |
|---|---|---|
| Neocaridina (Red Cherry, Blue Dream, etc.) | 10–20% a week | Tap water is usually fine; match temperature and hardness |
| Caridina (Crystal Red, Taiwan Bee) | 10% every week or two | RO water + minerals; match TDS closely |
| Newly set-up tank, still cycling | Based on test results | Do not add shrimp until ammonia and nitrite are at zero |
| Emergency (ammonia spike, wrong medication) | Larger, but matched and slow | Changes spread over several days are safer |
Rather than frequent, irregular large changes, changing on the same day, the same amount, the same way is the most comfortable routine for shrimp. Shrimp do not like surprises.
Make the new water look like the tank water
The real work of a water change happens in the bucket. Before adding new water to the tank, bring these values close to the tank's:
- Temperature: keep it within 1 °C (about 2 °F) of the tank. Measure both the tank and the bucket with a thermometer. In winter, tap water can be much colder than the tank; letting it sit at room temperature for a few hours or using a small heater does the trick.
- TDS: a TDS meter is your most practical check. In a Neocaridina tank, a difference of a few tens of ppm is usually fine; in a Caridina tank, try to keep the difference to around 10 ppm.
- GH and KH: if your source has not changed, you do not need to test every time, but remember that tap water can change from season to season.
If you use tap water
- Use a water conditioner. Many municipal water supplies add chlorine or chloramine. Some chlorine can gas off if the water stands, but chloramine does not, so letting water stand is not enough on its own. Use a water conditioner labeled as shrimp-safe, following its instructions.
- Do not use the hot water tap. Hot water dissolves copper from the plumbing more easily, and copper is dangerous for shrimp. Also run the first water out of pipes that have not been used for a while.
- Be careful with filter pitchers. Some pitcher filters release silver ions into the water; they are not recommended for a shrimp tank.
If you use RO water
RO (reverse osmosis) water contains almost no minerals, and shrimp cannot build their shells in it. Add the mineral to RO water in a separate container, not to the tank, and wait until it has fully dissolved. Undissolved mineral keeps dissolving after you add it to the tank and pushes TDS up for a while. Many hobbyists prepare their water a day ahead and use it the next day, so temperature and pH have time to settle. Details are in the RO water and remineralizing guide.
Water change, step by step
- Prepare: make the new water the day before, or at least a few hours ahead. Measure its temperature and TDS.
- Drain the old water: use a thin hose (airline tubing works great). Slip a fine mesh, a piece of nylon stocking or a sponge over the end so babies do not get sucked in. Move the hose slowly to nudge shrimp out of the way.
- Check the bucket: before you pour away the water you drained, shine a light into the bucket. That is often the only way to spot tiny babies.
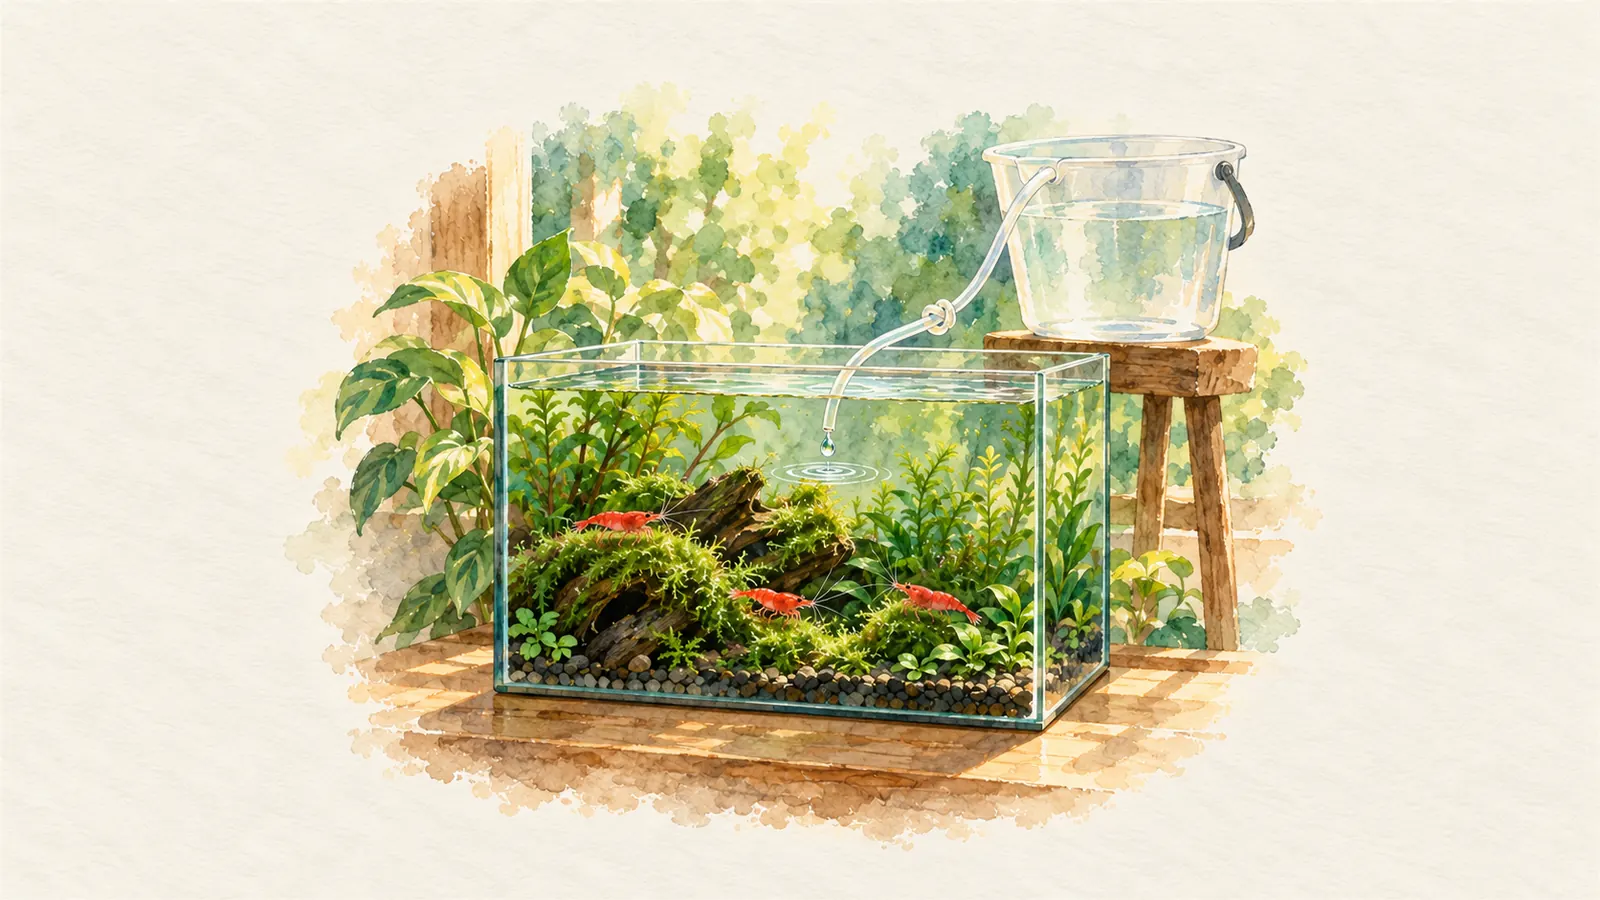
- Add the new water slowly: place the bucket a little above the tank and set up a drip line into the tank with airline tubing. Tie a knot in the tubing or use a small valve to slow the flow to a few drops per second. That way a 10% change takes 30–60 minutes. Sources do not fully agree on the drip rate, but they all say the same thing: never pour the water into the tank straight from the bucket.
- Watch: keep an eye on your shrimp for the next few hours. If all is well, they will carry on foraging for food.
- Log it: write down the date and a short note. In ShrimpSocial you can log it with the "I changed the water" button on your tank and choose a reminder interval; when the day comes, it reminds you at the top of your feed.
What should you top off evaporation with?
Here every source agrees: top off evaporated water with RO or pure water only. When water evaporates, the water leaves but the minerals stay in the tank. If you replace the lost water with tap water or mineralized water, minerals build up and TDS slowly climbs over the weeks. TDS and GH that creep up unnoticed are linked to molting problems. Think of topping off as separate from a water change: one replaces what was lost, the other takes out the waste that has built up.
If something goes wrong: warning signs
| What you see | Possible meaning | What to do |
|---|---|---|
| Lots of molts within a few hours | Water values changed quickly | Make the next changes smaller and match the water more closely |
| Shrimp swimming fast all over the tank | Stress or a mating dance | Normal if a female has just molted; if not, measure temperature, ammonia and TDS |
| White ring, shrimp stuck in its shell | Failed molt | Review your recent changes; measure GH and TDS |
| Berried females dropping eggs | Stress | Smaller, slower changes |
| Deaths in the 1–2 days after a change | Value mismatch, chlorine/chloramine or a dirty bucket | Check your water conditioner and bucket; use a bucket reserved for the aquarium only |
Fast swimming is not always bad news: after a female molts, males racing madly around the tank is normal mating behavior, and it usually calms down within a day. But if it started right after a water change and there is no female involved, test the water first.
Common mistakes
- "I haven't done one in weeks, so I'll do a big one this time." In a tank that has gone a long time without a change, the water has slowly drifted. One big change swaps out the water your shrimp are used to all at once. Do several small changes over consecutive days instead.
- Pouring straight from the bucket. Setting up a drip line takes five minutes; rebuilding a lost colony takes months.
- Kitchen buckets and detergent residue. Keep your aquarium bucket for the aquarium only.
- Topping off evaporation with tap water. The day you wonder why your TDS keeps rising, this is probably why.
- Giving the filter a full clean on the same day. Rinsing the filter under the tap along with a water change reduces beneficial bacteria. If the filter sponge needs it, gently squeeze it out in the tank water you drained.
Frequently asked questions
Can I skip water changes altogether?
Some hobbyists say they have gone a long time without changes in heavily planted tanks with very few shrimp. But waste and dissolved substances build up over time, and your TDS meter will show you that. Small, regular changes are the easiest route to a tank without surprises.
Do I need to let the new water stand?
If you used a water conditioner, standing is not required, but waiting a few hours to bring it to tank temperature makes your life easier. If you added minerals to RO water, it is important to wait until they have fully dissolved.
Why do shrimp molt after a water change?
Fresh water triggers many shrimp to molt, so seeing a few empty shells is normal. But if lots of shrimp molt on the same day and some get stuck, the new water is too different from the old.
Sources
- The Shrimp Farm: Failed molting in shrimp and Shrimp tank water changes (breeder)
- Shrimp Science: Shrimp tank water changes (care guide)
- Wikibooks (German): Haltung von Süßwassergarnelen: Wasserwechsel (community source)
- On molting and salt balance in crustaceans: Journal of Crustacean Biology (scientific)
The values and advice in this guide reflect what is widely accepted in the shrimp hobby. They can vary with the line, your water and the breeder your shrimp came from. Make changes to your tank in small steps.