How to Set Up a Shrimp Tank: Step-by-Step Guide
A well set-up shrimp tank prevents most of the problems you would otherwise face in the months ahead. This guide walks you through setting up a tank from scratch for cherry shrimp (Neocaridina), from the equipment list to the day the first shrimp go in. The key is not to rush: prepare the water and the tank first, add shrimp last.
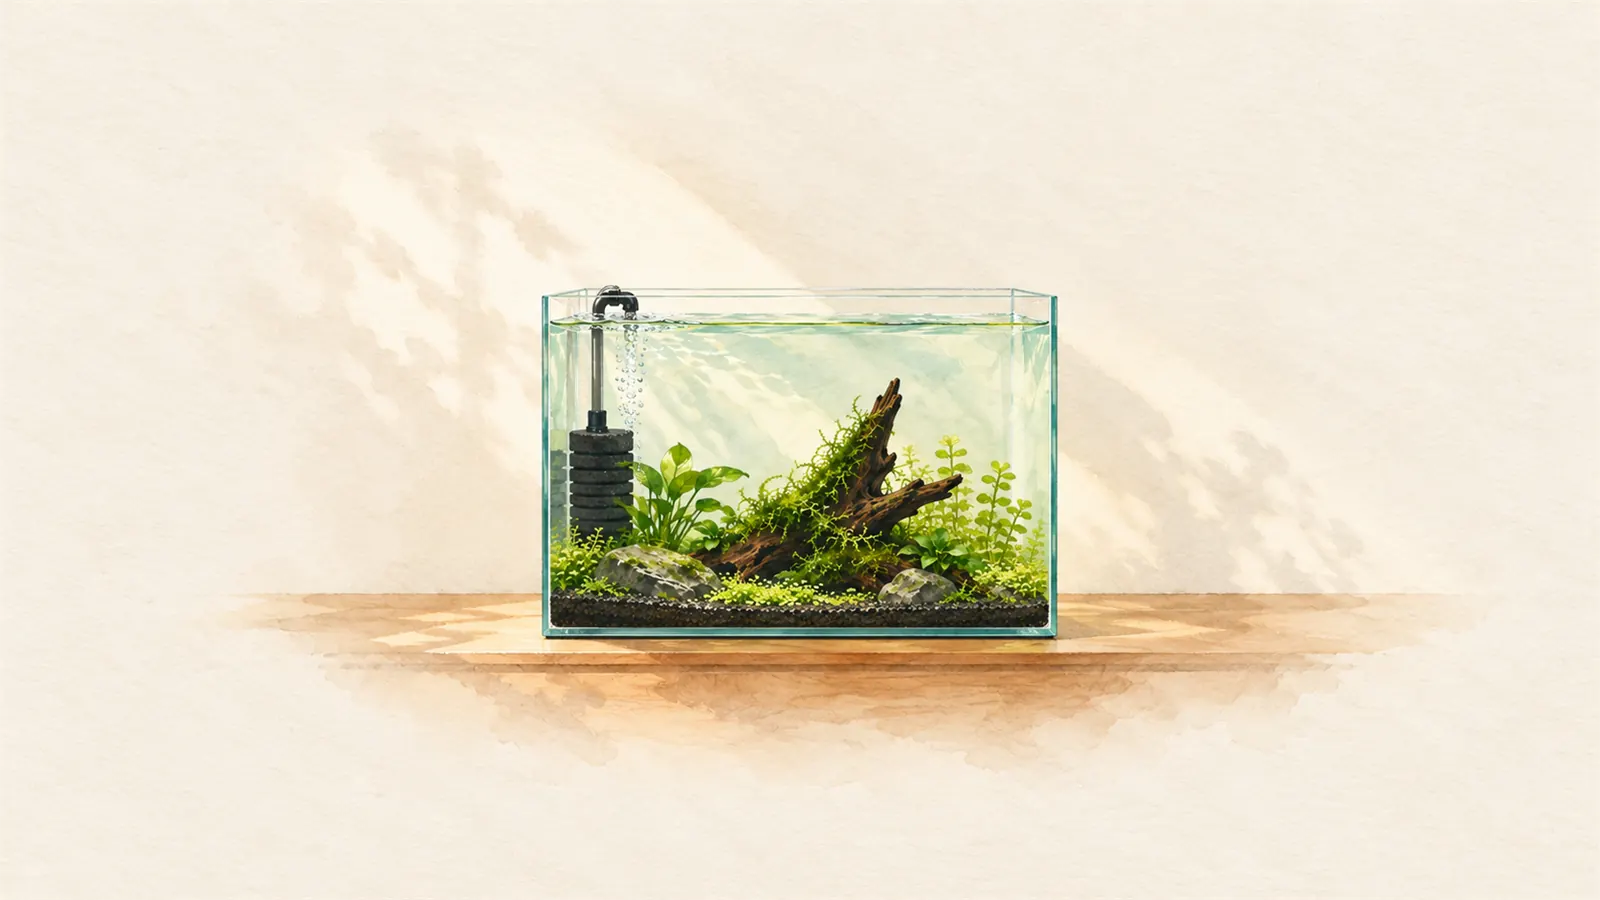
Equipment and placement
- Tank: 20–60 liters (about 5–16 US gallons)
- Filter: sponge filter + air pump
- Substrate: dark sand or inert gravel
- Heater: if the room drops below 20 °C (68 °F)
- Light: a simple LED
- Test kits: ammonia, nitrite, nitrate, GH/KH
Caridina (Crystal Red) need an active substrate and RO water; this guide is for Neocaridina.
Put the tank on a sturdy surface out of direct sunlight, where the temperature does not swing suddenly. Give cables a drip loop and add a check valve to the airline; it stops water from siphoning back into the air pump during a power cut.
1. Choose the tank size
Small tanks look cheap and cute, but their water values change very quickly. For beginners we recommend 20 liters (about 5 US gallons) or more. Tanks of 30–60 liters (about 8–16 US gallons) offer stability without taking over your home. Shrimp live on the bottom, so long tanks with a wide footprint are more useful than tall ones. Rinse a new tank with plain water only; no soap, detergent or disinfectant.
2. Filter: a sponge filter
The best choice for a shrimp tank is a sponge filter. It runs on an air pump, is inexpensive, will not suck up babies and grows biofilm that shrimp graze on. If you use a hang-on-back or canister filter, always fit a pre-filter sponge over the intake. The flow should gently move the surface; strong current tires shrimp out. Never leave the filter off for long: the bacteria die without oxygen.
3. Substrate
Neocaridina do not need a special substrate. Inert sand or fine gravel (one that does not change your water values) is enough. A dark substrate makes shrimp colors look more vivid. If you want rooted plants, you can put a layer of plant soil underneath, but make sure it contains no copper or added fertilizer. About 3–5 cm (1–2 in) of substrate is enough for plant roots and for shrimp to forage.
If you keep Caridina, you need an active substrate that softens the water and lowers pH. See our Caridina care guide for details.
4. Heater and light
Cherry shrimp are comfortable at 20–25 °C (68–77 °F). If your room drops below 20 °C (68 °F) in winter, use an adjustable heater. In summer, temperatures above 28 °C (82 °F) are risky: keep the tank out of direct sunlight and, if needed, cool it with a small fan blowing across the surface. Place the heater where the filter flow passes it so the heat spreads evenly.
A simple LED is enough. 6–8 hours of light a day is plenty for plants and helps prevent excess algae. A timer makes this easy. Algae problems usually start with too much light and too much food, so do not suddenly lengthen the light period.
5. Plants and decor
Plants are the heart of a shrimp tank: they provide hiding places, surfaces for biofilm and shelter for babies. Easy plants that work well with shrimp:
- Mosses: Java moss, Christmas moss, Flame moss
- Epiphytes: Anubias, Java fern, Bucephalandra
- Fast growers: Hornwort, Limnophila, floating plants (they absorb nitrate)
For decor you can use stone, driftwood and cholla wood. Avoid rocks such as limestone that harden the water, and keep metal ornaments out of the tank. Rinse new plants well and watch them in a separate container for a while first; they can carry snails, planaria or pesticide residue.
6. Prepare and test the water
In many areas, tap water treated with a dechlorinator (water conditioner) is fine for Neocaridina. Before filling the tank, test the GH, KH and pH of your tap water. Commonly accepted ranges for Neocaridina are pH 6.5–8.0, GH 6–10 and KH 2–6; sources differ slightly. What matters is not that the values are "perfect" but that they do not change suddenly. See our water parameters guide for details.
Prepare new water at close to tank temperature. Do not use pure RO water without minerals; it has to be remineralized with a product made for Neocaridina. Liquid drop tests are more reliable than test strips.
7. Cycle the tank (the most important step)
Adding shrimp as soon as the tank is set up is the number one cause of shrimp losses. First, the bacteria that make ammonia and nitrite harmless have to establish. This usually takes 3–6 weeks. The cycle is complete when ammonia and nitrite read zero several days in a row. Even if you use a bottled bacteria product, do not rush: decide based on your test results, not the label's promises. For a step-by-step walkthrough, see our tank cycling guide.
Waiting a few more weeks after the cycle lets biofilm build up for shrimp to graze on. Patience always pays off. Meanwhile, keep the light on its schedule, let the plants settle in and keep water changes small.
8. Add the first shrimp
- 10 shrimp is a good starting number; you can add more as the tank matures.
- Drip acclimate the shrimp to your tank water over 1–2 hours. Do not pour the bag water into the tank.
- Do not feed on the first day; let them explore their new home.
- Hiding is normal in the first weeks; do not panic and start rearranging the tank.
- Check water values and temperature more often during the first week.
9. Maintenance routine
- Weekly: 10–20% water change with dechlorinated water at the same temperature.
- Weekly: test nitrate (keep it below 20 mg/L); GH/KH once a month.
- As needed: clean the sponge filter by gently squeezing it in tank water (never rinse it under the tap; the beneficial bacteria die).
- Always: feed lightly. See our feeding guide for details.
Top off evaporation with pure RO water if you can: minerals do not evaporate, so topping off with tap water every time slowly raises the hardness. When you siphon during a water change, check the bucket for baby shrimp.
Common mistakes and how to avoid them
- Adding shrimp before the cycle is done: no livestock until ammonia and nitrite are zero.
- Overfeeding: leftover food raises ammonia; feed only what is eaten within a few hours.
- Rinsing the filter under the tap: the beneficial bacteria die; squeeze the sponge in tank water.
- Copper and unsuitable chemicals: copper-based medications, some fertilizers and disinfectants are deadly to shrimp; check the ingredients of every product.
- Sudden changes: do not shift temperature or values abruptly; make small, regular water changes.
- Putting new plants straight into the tank: rinse and observe them first.
Weekly checklist
| Check | Target | What to do |
|---|---|---|
| Ammonia and nitrite | 0 | If raised: change water, cut back on food, add no new livestock. |
| Nitrate | < 20 mg/L | If high: change more water, feed less. |
| Temperature | 20–25 °C (68–77 °F) | If it swings, check the heater and room temperature. |
| pH, GH, KH | 6.5–8.0 / 6–10 / 2–6 | Test regularly; avoid sudden changes. |
| Filter | Flowing, sponge not clogged | Gently squeeze the sponge in tank water. |
| Leftover food | None | Feed less; skip a day if needed. |
| Shrimp behavior | Calm grazing | If they climb to the surface, try to escape or sit still, check water values and aeration. |
Tips for beginners and experienced keepers
If you are just starting
Do not make big changes all at once. After setting up the tank, spend a few weeks just testing and watching. Add shrimp slowly and test your water before each addition. A reliable sponge filter and liquid test kits will do more for you than expensive equipment.
If you are experienced
Even in a mature tank, be careful with medications, fertilizers and temperature changes. Leave dense patches of moss to improve shrimplet survival. If you track TDS and GH/KH, do not read the numbers in isolation; look at them together with your shrimp's behavior and molting.
Frequently asked questions
How long does it take to set up a shrimp tank?
The physical setup takes a few hours; the real time goes into cycling. You usually wait 3–6 weeks until ammonia and nitrite read zero. Waiting a few more weeks after that helps biofilm develop.
How do I know the cycle is complete?
When ammonia and nitrite read zero several days in a row. Some nitrate is normal; keep it low with water changes. Before adding shrimp, make sure temperature, pH and GH/KH are also suitable and stable.
Can I use a tank smaller than 20 liters?
You can, but it is hard for a beginner. In a small volume, water values change very quickly; 30–60 liter tanks (about 8–16 US gallons) are more forgiving of mistakes.
Why do my shrimp hide all the time?
Hiding is normal in the first weeks while they settle in. They also hide when molting. But if they keep climbing to the surface, trying to escape or sitting motionless, check your water values, temperature and aeration.
Can I use tap water?
Dechlorinated tap water with GH, KH and pH suitable for Neocaridina usually works. Still, do not decide without testing your own water.
The values and advice in this guide reflect what is widely accepted in the shrimp hobby. They can vary with the line, your water and the breeder your shrimp came from. Make changes to your tank in small steps.